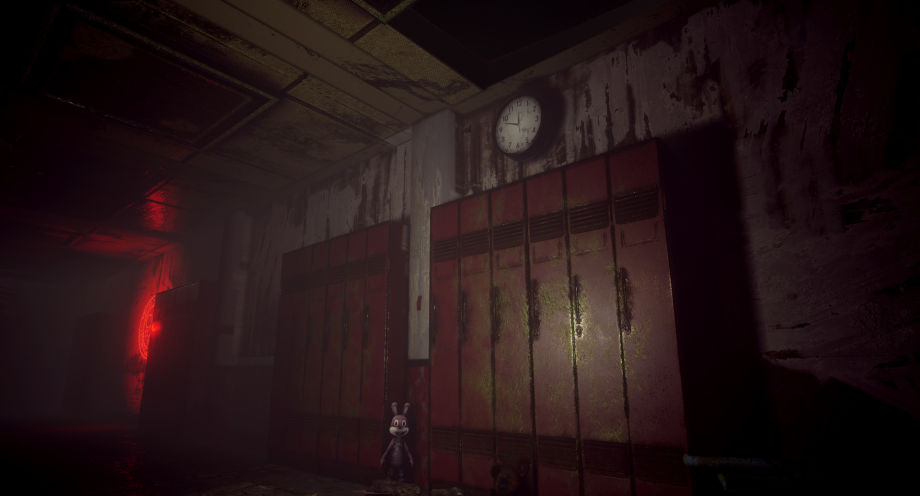
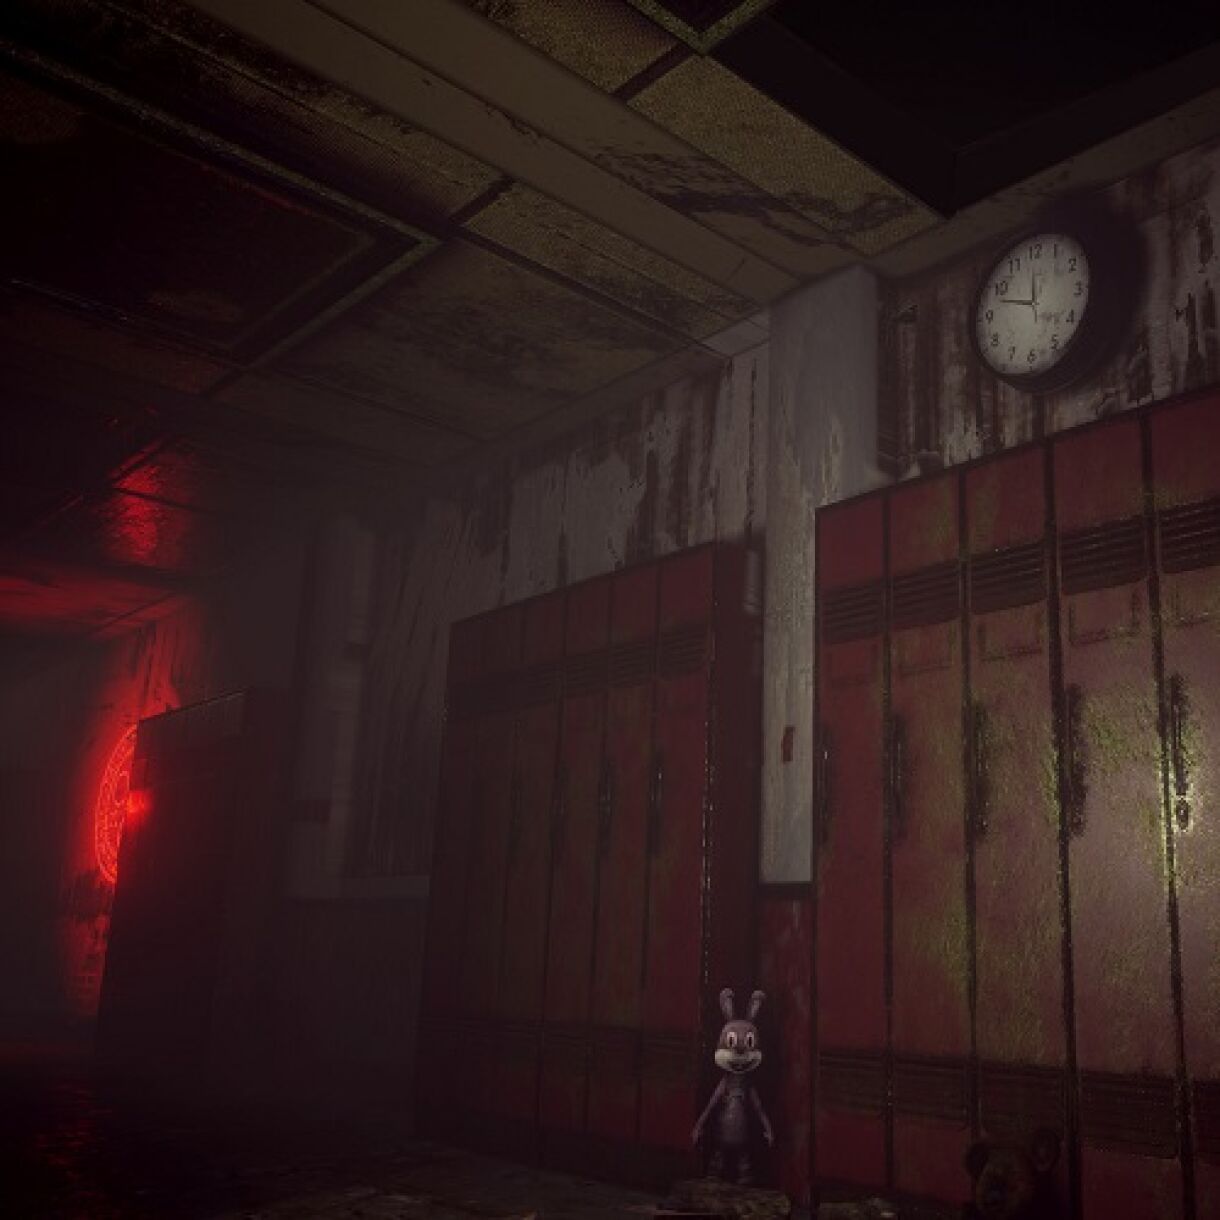
James Brady talked about the production of his Silent Hill inspired environment. We’ve discussed scene creation process, materials, lighting and other details.

SCENERENDER3
Introduction
My name Is James Brady, An 24 year old aspiring environment artist currently working at The Creative Assembly. I am currently working as a QA on their upcoming release Total War: Warhammer. Before joining CA I worked on multiple projects including LifeSpeed which was released on Nintendo 3DS in early 2016. I’ve recently joined the No Nore Room In Hell team to work on their sequel.
Silent Hill Scene
So when I was a kid, my dad got the classic playstation as a present for Xmas, which one of the games that came with the console was the original Silent Hill. I remember the scariest part of that game was at the start when you were walking down the dark alleys. I was hooked immediately! Since then I have been an avid fan and have always dremt of creating an Silent Hill style environment. When I heard the new Silent Hill game was scrapped, I was dis-heartned and decided to take it upon myself to create a scene within Unreal Engine 4 to get a feel for what the game could of potentially looked like and felt on a next gen console.
SCENERENDER4
When I inititally approached building this, I knew I wanted to create an abandoned kindergarten scene. I quickly scrubbed togeather a moodboard containing images of abandoned school and hosptial hallways along with a bunch of silent hill gameplay shots from the previous titles. I then created a small color palette based off this moodboard. In doing this, it was easier for me to nail the over-all atmosphere and mood of an Silent Hill scene.
I began to block out a scene in Unreal Engine 4 using the basic geometry cube based off the reference I collated on the initial moodboard while throwing a few lights in to get a feel for how it would look lit. I then slowly started to replace the cube geometry with modular assets.
Material Design
When I started to work on the scene’s materials, I knew my goal to achieve was to create an abandoned hallway with alot of damp/dirt and grime. I decided to collate another moodboard focusing solely on these kind of materials and how they would appear in the real world. As I was using Unreal Engine 4, I focused on getting the same realistic values for each material as they would appear in the real world. I achieved this by adjusting the specular and gloss values for each material within the scene along with using sphere reflection capture actor’s to capture and define the more wetter materials and how they appeared within the lighting setup for the scene. I also used a Box Reflection Capture actor to really tie everything togeather.
Wireframe_Render
unlit_Scene_render
When creating the scrubbed paint and painted text, I used decals which allowed be to freely place them in the scene without any restrictions. This also allowed me to achieve creating higher quality textures as they did not use the UV Space of the modular wall section’s and so forth. I went kind of crazy with the decals as you can see from the screenshot!. By using these decals, I was able to achieve the Silent Hill atmosphere for this scene.
I created these decals by hand in photoshop using image grabs from the net along with general Photoshop skills. I used an gradient overlay for the alpha channel’s of each of the paint decals to make them blend more into the scene. This followed suit for the painted text also.
Unlit_BlockoutScene
I used Quixel Suite to quickly achieve the material apperance for the lockers. The rest was just Photoshop along with overlayed image grabs from the net. I adjusted the PBR specular and gloss values by hand too. When creating the normal maps for some of the assets in scene, I first created it in Photoshop and then used Crazybump to convert it into an normal and AO map. Abit hacky but it did the trick! Did not create any bakes from high poly models for this scene.
The Seal Of Sun is also a decal which I created in Photoshop with a quick google image grab. I used an Filter along with increase the sharpness on the emmisive channel to make it ‘pop’ more.
Lighting and Post Processing
Indepth_lit_scene2
InDepth_LitScene
So when I collated the final scene and added all of the assets. I began to add the lighting by dragging a few spotlights along with light points into the scene. I adjusted the over-all values until they blended nicely. I then added an Post-Processing volume along with a lightmass importance volume ‘Very Important!’
I then started by adjusting the white balance of the scene to try and adjust the over-all color correction of the textures, just as you would in Photoshop.
POSTPROS1
POSTPROS2
Once I was happy with that I moved onto playing with the color grading settings along with adding Vignette to put the viewier’s focus on the center of the scene. I also added a slight tint of Bloom along with over-all SSAO to darken areas of the scene just like ambient occlusion would appear in the real world.
I then added screen spaced reflections to make the wet surfaces pop more as you can see from the screenshots below. I also used Global Illumination to exagerate the lighting within the scene.
Lighting_Render
Lit_Blockedout_scene
Ways to Improve Skills
I recommend learning for modeling, 3D Studio Max as its a highly rounnd modeling package used by countless triple A studios around the world. I would recommend also learning Pixalogic’s zbrush for sculpting rocks and so forth. Its pretty cool!.
For texturing I recommend using Adobe Photoshop, Quixel Suite or Substance Designer, which ever you feel is more natural. I would also recommend using Xnormal for baking your normal and AO maps.
This is exactly tools/workflow I use on a daily basis. I used this exact workflow for this scene too.
The only way to also improve your skills to get stuck in. There is no trick of the trade. You have to work hard and hone your time on focusing on one area of game production, let it be environment art, character art or even creating weapons/vehicles. No point being a jack of all trades, master of none. The only way you will find your niche is to just keep practicing, it will come naturally and your ability will shift you in the right direction.
SCENERENDER2
Even when you achieved getting your dream job, you still need to keep up to scratch with industry requirement let it be new software or techniques. The industry is always adapting/evolving/changing so you need to keep ontop of your shit at all times.
Work hard and make your dreams come true!
James Brady, Creative Assembly
interesting links
BUILDING A TRACKER FROM ALIEN ISOLATION
3D CONTENT CREATION TIPS FROM INDUSTRY EXPERT
CYBERPUNK ALLEY: AAA-ENVIRONMENT WITH ACCESSIBLE TOOLS
Ideal for all kind of stylized work! With this pack you can be creative, consistent, and cost-efficient!

